DBはMysqlにした。理由なんて無いよ!
Mysqlも必要なので前の記事で作った環境にいれます。
前の記事はこちら
PHPインストール
sudo apt update
sudo apt install php7.2 php7.2-common php7.2-cli php7.2-fpm php7.2-mysql php7.2-dev php7.2-mbstring php7.2-zip
php-fpmの設定ファイルは
/etc/php/7.2/fpm/php-fpm.conf
phpの設定ファイルは
/etc/php/7.2/fpm/php.ini
nginxの設定
設定ファイルの変更
サンプルがコメントアウトになってるので、そのままコメントを解除して使用しましょう。
sudo vi /etc/nginx/sites-enabled/default

# pass PHP scripts to FastCGI server
#
location ~ \.php$ {
    include snippets/fastcgi-php.conf;
    #
    #     # With php-fpm (or other unix sockets):
    fastcgi_pass unix:/run/php/php7.2-fpm.sock;
    #     # With php-cgi (or other tcp sockets):
    #     fastcgi_pass 127.0.0.1:9000;
}
nginxの設定ファイルを再読み込みします。
sudo service nginx reload}PHPファイルを作成します。
sudo vi /var/www/html/info.phpファイルの内容は以下になります。
<?php
    phpinfo();
?>
ブラウザで確認します。
http://「ドメイン」/info.php
MYSQL
MYSQLをインストールします。
sudo apt install mysql-server mysql-clientMYSQLの状態を確認します。
sudo service mysql statusMYSQLの初期設定をします。
sudo mysql_secure_installation途中で対話形式で確認があります。
■パスワードチェックを行う
VALIDATE PASSWORD PLUGIN can be used to test passwords
and improve security. It checks the strength of password
and allows the users to set only those passwords which are
secure enough. Would you like to setup VALIDATE PASSWORD plugin?
Press y|Y for Yes, any other key for No: y
■パスワードチェックのレベルを選択
LOW Length >= 8
MEDIUM Length >= 8, numeric, mixed case, and special characters
STRONG Length >= 8, numeric, mixed case, special characters and dictionary file
Please enter 0 = LOW, 1 = MEDIUM and 2 = STRONG: 0
■root パスワード(再入力)
New password:
Re-enter new password:
■そのままのパスワードで良いか
Do you wish to continue with the password provided?
Do you wish to continue with the password provided?(Press y|Y for Yes, any other key for No) : Y
■匿名ユーザーの削除
Remove anonymous users? (Press y|Y for Yes, any other key for No) : Y
■リモートログインの許可しない?
Disallow root login remotely? (Press y|Y for Yes, any other key for No) : y
■テストデータベースを削除しますか?
Remove test database and access to it? (Press y|Y for Yes, any other key for No) : y
■テーブルの再読み込み
Reload privilege tables now? (Press y|Y for Yes, any other key for No) : y
対話形式の内容は以下全文です。
全文を表示
MYSQLにログインします。
sudo mysql -u root -pMYSQLのステータスを確認します。
status
--------------
mysql  Ver 14.14 Distrib 5.7.25, for Linux (x86_64) using  EditLine wrapper

Connection id:		5
Current database:
Current user:		root@localhost
SSL:			Not in use
Current pager:		stdout
Using outfile:		''
Using delimiter:	;
Server version:		5.7.25-0ubuntu0.18.04.2 (Ubuntu)
Protocol version:	10
Connection:		Localhost via UNIX socket
Server characterset:	latin1
Db     characterset:	latin1
Client characterset:	utf8
Conn.  characterset:	utf8
UNIX socket:		/var/run/mysqld/mysqld.sock
Uptime:			15 min 30 sec

Threads: 1  Questions: 20  Slow queries: 0  Opens: 113  Flush tables: 1  Open tables: 106  Queries per second avg: 0.021
--------------
設定ファイルの書き換えます。
sudo vi /etc/mysql/mysql.conf.d/mysqld.cnf

[mysqld]
# 文字コード
character-set-server = utf8

# パスワードの有効期限
default_password_lifetime = 0
MYSLQユーザーを追加します。
create user ユーザ名 identified by 'Password123@';MYSLQユーザー一覧を表示します。
select Host, User from mysql.user;権限を追加します。
-- 全権限をユーザーに追加
GRANT ALL PRIVILEGES ON 'db_name'.* TO 'user_name'@'%' WITH GRANT OPTION;

-- 全DBの全権限をユーザーに追加
GRANT ALL PRIVILEGES ON *.* TO 'user_name'@'%' WITH GRANT OPTION;
DBを作成します。
create database test_db1;MYSQLを再起動します。
sudo service mysql restart再度状態を確認します。
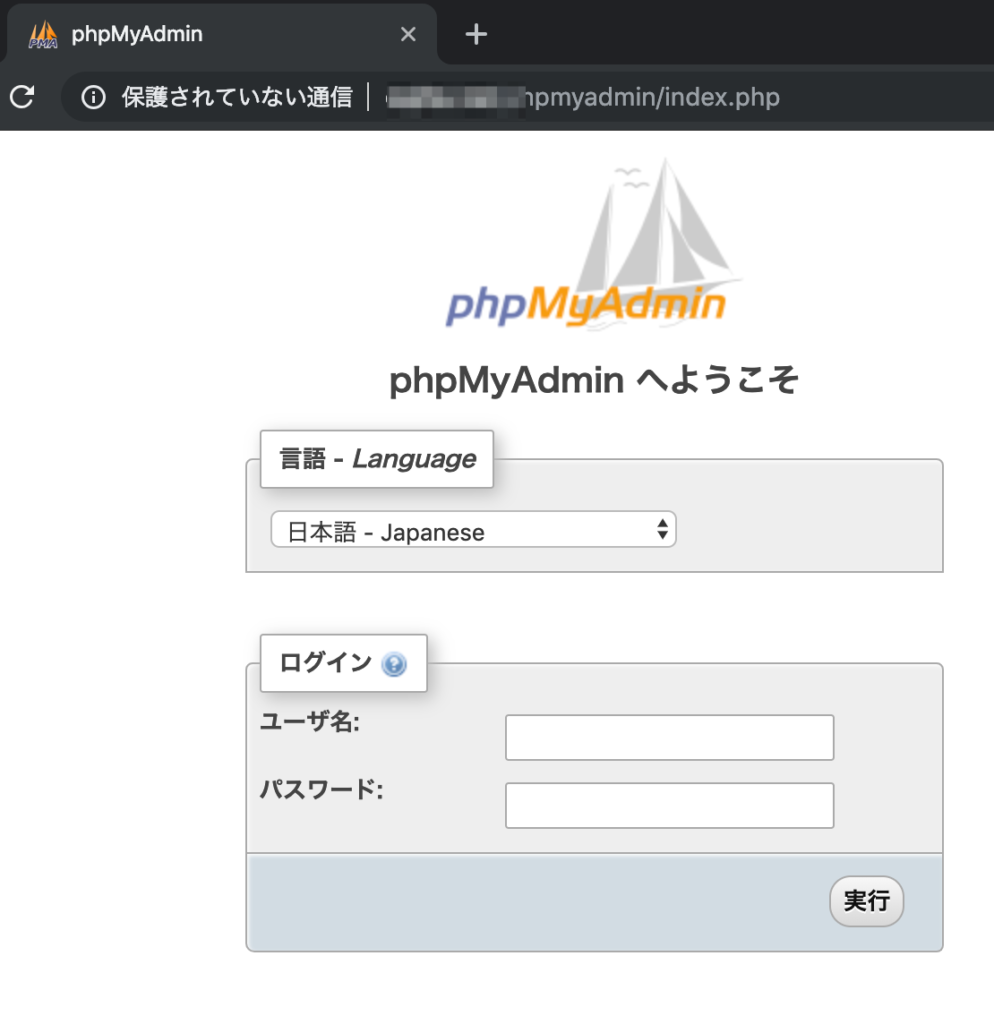
statusphpmyadmin
まずはダウンロード。
cd ~
wget https://files.phpmyadmin.net/phpMyAdmin/4.8.5/phpMyAdmin-4.8.5-all-languages.zip
解凍します。
sudo unzip phpMyAdmin-4.8.5-all-languages.zipリネームします。
sudo mv phpMyAdmin-4.8.5-all-languages phpmyadmin移動します。
sudo mv phpmyadmin/ /usr/share/設定ファイルの調整をします。
sudo nano /etc/nginx/sites-available/default

location /phpmyadmin {
    root /usr/share;
    index index.php;

    location ~ ^/phpmyadmin.+\.php$ {
        fastcgi_pass unix:/var/run/php/php7.2-fpm.sock;
        fastcgi_index index.php;
        fastcgi_param SCRIPT_FILENAME $document_root$fastcgi_script_name;
        include fastcgi_params;
    }
}
nginxを再起動します。
sudo service nginx restartまとめ
普通に苦労したw
普段PHPとか使わないし、MYSQLもバージョン上がってていろいろ変更があり大変だった!
以上です。


